LynetteWellmeier.com
Tutorial: Pot of Iris original drawing transfer watercolor
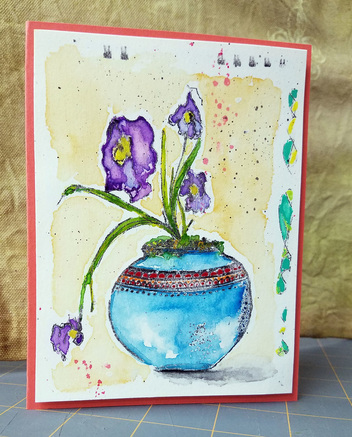
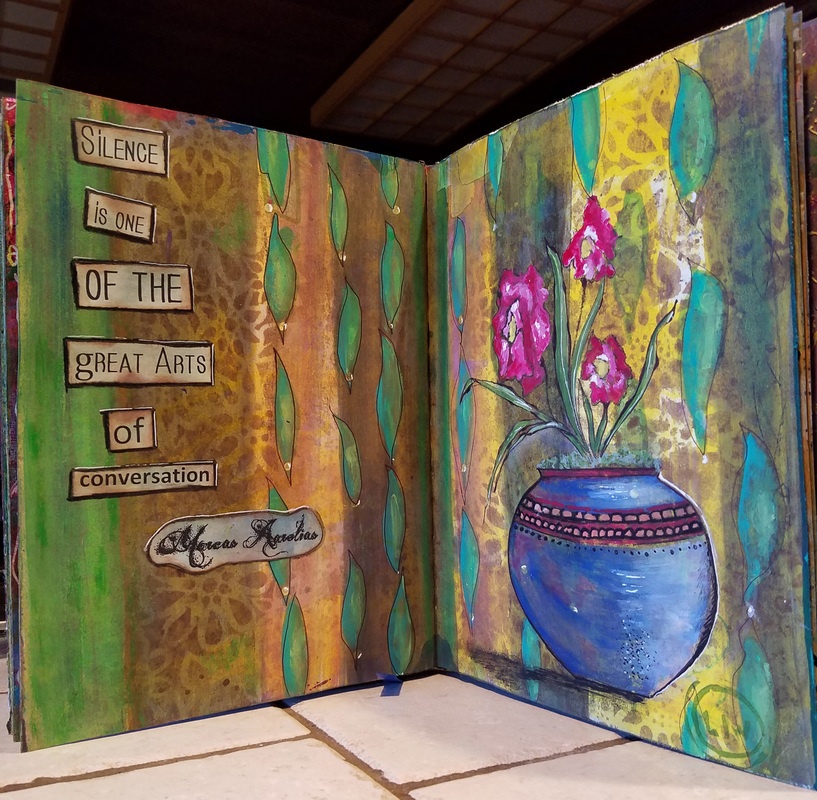
It ain't Picasso but oh so much fun. Take an original drawing or doodle and transfer it over and over onto a multitude of projects. Another bonus is that it can be re-sized.... Easiest transfer method I've ever tried! Here I made a watercolor greeting card using my Kuretake Gansai Tambi watercolors and an art journal page using Silks acrylic glazes
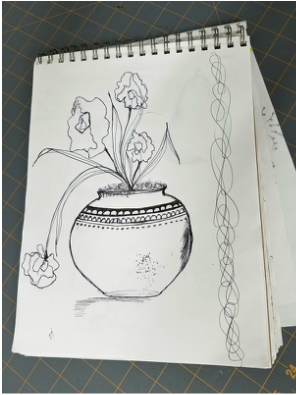
This was an original sketch with a G2 ink pen. Nothing special but fun to do. I don't draw like a master so I just remind myself to have fun and let go. I had this vase in my head and it felt freeing to get it out on paper. So be brave and don't worry about Picasso....Feel free to use a clip art image if your just not into drawing.
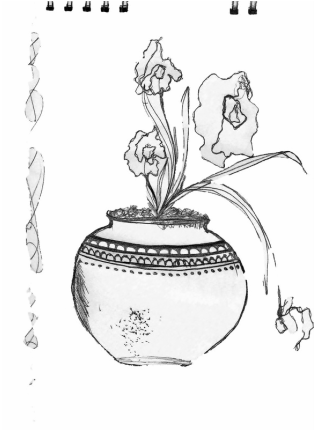
Next make a copy. I just took a picture with my cell phone and emailed it to myself. Open it with any photo editing program you have and sharpen the lines if necessary. The trick here is to use a laser printer. This will only work with toner based inks. This is the Laser copy after some quick touching up in Adobe. Your looking for a sharp and defined black & white image. Print it out on regular copy paper to the size desired.
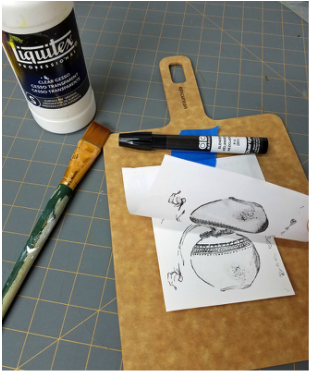
Transfer method: I used Strathmore 400 series mixed media paper cut down to the size of my project. But you could use whatever paper you like as long as you gesso it before transferring.. My plan was to watercolor after transferring so I chose a paper I knew could take the moisture. Paint on a thin even coat of Liquitex clear gesso and let dry completely. Working on a flat surface place your laser copy face down onto the gessoed paper and tape in place. Use a Chatpak Ad Marker colorless blender and color over the areas with the toner with a little pressure. This will transfer the toner ink to your project. Lift your copy to check your progress along the way. This transfer method is by far the fastest I've ever tried. You get really great results just about every time. Color in your project if desired with any water based medium.
